Canning salmon fish is an excellent way to preserve the fresh taste and nutritional value of salmon for extended periods. This process ensures you have high-quality salmon ready to use in various recipes throughout the year. Here, we will discuss the best practices for canning salmon fish, ensuring safety, flavour, and convenience.
Preparing the Salmon
Before you start canning salmon fish, it’s essential to prepare the fish properly. Begin by cleaning the salmon thoroughly. Remove the scales by scraping from tail to head with a fish scaler or the back of a knife. Next, gut the fish by making a shallow incision along the belly and removing the internal organs. Rinse the fish under cold water to remove any blood and residue, ensuring it’s completely clean.

Best Practices for Canning Salmon Fish
Cutting and Prepping the Salmon
Once the salmon is cleaned, cut it into pieces that will fit into your canning jars. You can leave the skin on or remove it, depending on your preference. Cut the fish into uniform pieces to ensure even cooking and canning. Having the salmon ready in pieces makes the packing process more efficient and ensures a better seal.
Sterilizing the Jars and Lids
Sterilizing your jars and lids is a crucial step in canning salmon fish. Start by washing the jars, lids, and bands in hot, soapy water, and rinse them well. Place the jars in a large pot of boiling water for at least 10 minutes to sterilize them. You can also use a dishwasher with a sterilizing cycle. Keep the jars hot until you are ready to fill them to prevent breakage from temperature shock.
Packing the Salmon into Jars
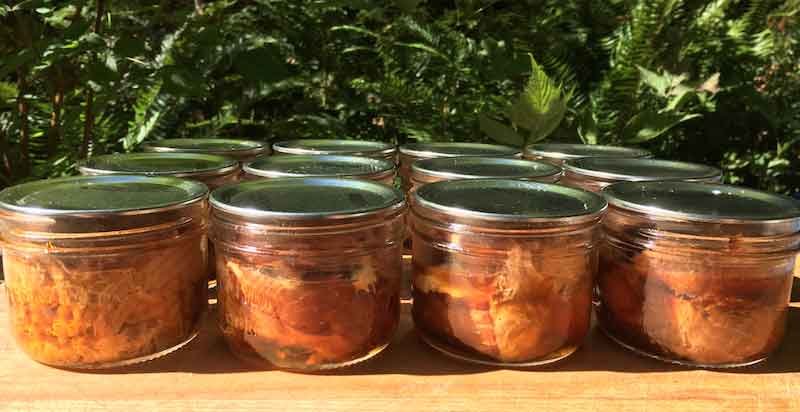
When canning salmon fish, packing the jars correctly is essential for safety and quality. Add a half teaspoon of canning salt to each pint jar for flavor. Pack the salmon pieces tightly into the jars, leaving one inch of headspace at the top. The headspace is necessary for proper sealing and to allow for the expansion of the fish during processing. Do not add any liquid; the fish will produce its own juices during canning.
Sealing the Jars
After packing the salmon into jars, wipe the rims with a clean, damp cloth to remove any residue that could interfere with the seal. Place the sterilized lids on the jars and screw on the bands until they are fingertip tight. Do not over-tighten the bands, as this can prevent air from escaping during processing and affect the seal.
Processing in a Pressure Canner
Canning salmon fish requires a pressure canner to ensure safety and prevent the risk of botulism. Fill the pressure canner with the recommended amount of water, typically 2-3 inches, and place the jars inside on a rack. Secure the lid and heat the canner until the steam vents for 10 minutes. Close the vent and bring the canner to the recommended pressure, usually 10-15 pounds, depending on your altitude. Process pint jars for 100 minutes and quart jars for 110 minutes. Maintain consistent pressure throughout the processing time.
Cooling and Storing the Jars
Once the processing time is complete, turn off the heat and allow the pressure canner to cool naturally. Do not open the canner until it has depressurized completely. Carefully remove the jars and place them on a towel or cooling rack, leaving space between them. Let the jars cool for 12-24 hours. Check the seals by pressing the centre of each lid; it should not flex up and down. Store the sealed jars in a cool, dark place. Properly canned salmon can last up to a year.
Conclusion
Canning salmon fish is a rewarding process that allows you to enjoy the delicious taste and nutritional benefits of salmon year-round. By following these best practices—preparing and cutting the salmon, sterilizing jars, packing and sealing the jars, and processing them in a pressure canner—you ensure safe and high-quality results. Enjoy the convenience of having perfectly preserved salmon ready for any meal. Happy canning!