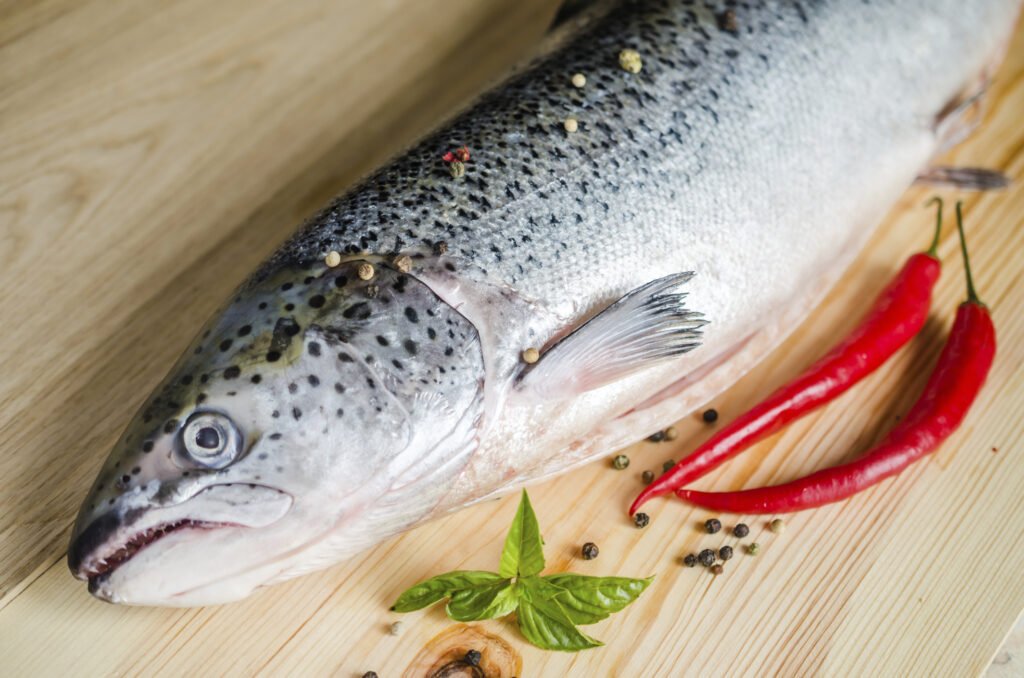
Properly cleaning salmon fish is essential to ensure it remains fresh and safe for storage. This guide will walk you through the steps to clean salmon fish for storage, preserving its quality and flavor. Whether you’re preparing for freezing, smoking, or another storage method, these steps will help you maintain the best results.
Why Cleaning Salmon Fish Properly Matters
Cleaning salmon fish thoroughly is crucial because it removes impurities and bacteria that can spoil the fish. Proper cleaning ensures that your salmon is safe to eat and retains its freshness and taste during storage. Additionally, a well-cleaned fish is easier to prepare for cooking or further processing.
Gathering Your Supplies
Before you start cleaning salmon fish, gather all the necessary supplies. You’ll need a sharp fillet knife, a pair of kitchen shears, a cutting board, a clean cloth or paper towels, and access to cold running water. Having everything ready will make the cleaning process smoother and more efficient.
How to Clean Salmon Fish for Storage
Scaling the Salmon
Begin by scaling the salmon. Hold the fish firmly by the tail and use the back of the knife or a fish scaler to scrape off the scales. Move from the tail towards the head, working against the direction of the scales. Be thorough but gentle to avoid damaging the flesh. Rinse the fish under cold water to remove any loose scales.
Removing the Head and Fins
Next, remove the head and fins using the kitchen shears or a sharp knife. Cut behind the gills to remove the head. Trim off the fins by cutting along their base. Removing these parts makes it easier to handle the fish during the cleaning and filleting process.
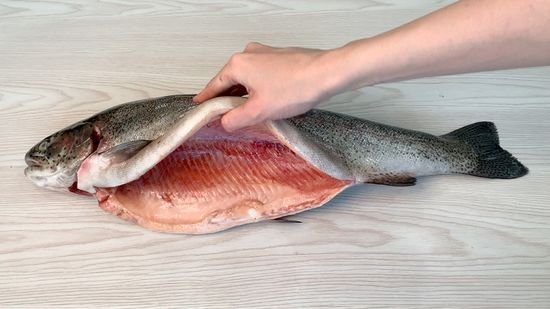
Gutting the Salmon
Gutting the salmon is an essential step to clean salmon fish for storage. Insert the knife into the fish’s belly near the tail and make a shallow cut up to the base of the head. Be careful not to puncture the intestines to avoid contaminating the flesh. Use your hand to remove the internal organs, scraping along the backbone to ensure all remnants are removed. Rinse the cavity thoroughly under cold running water to clean out any remaining blood and entrails.
Filleting the Salmon
Filleting the salmon is the next step. Place the fish on the cutting board with the belly facing you. Insert the knife behind the gill plate and make a cut down to the backbone. Turn the knife and run it along the backbone towards the tail, keeping it as close to the bones as possible. Repeat on the other side to remove the second fillet. Remove any pin bones using tweezers.
Skinning the Fillets
If you prefer skinless fillets, you can easily remove the skin. Place the fillet skin-side down on the cutting board. Hold the tail end with one hand and slide the knife between the flesh and the skin. Angle the knife slightly downwards and use a sawing motion to separate the skin from the flesh. Work slowly to ensure a clean separation without leaving too much flesh on the skin.
Final Rinse and Pat Dry
After filleting and skinning, give the salmon a final rinse under cold water to remove any remaining scales, blood, or debris. Pat the fillets dry with a clean cloth or paper towels. Drying the salmon helps prevent ice crystals from forming during freezing and keeps the flesh firm.
Storing the Cleaned Salmon
Now that the salmon is clean, it’s ready for storage. For short-term storage, wrap the fillets tightly in plastic wrap or place them in an airtight container and refrigerate. For long-term storage, vacuum-seal the fillets or place them in freezer bags, removing as much air as possible. Label the packages with the date and store them in the freezer.
Conclusion
Learning how to clean salmon fish for storage is an essential skill for preserving the quality and flavor of your catch. By following these steps—scaling, gutting, filleting, and proper storage—you can ensure your salmon stays fresh and delicious. Properly cleaned salmon fish will be ready for any cooking or preservation method you choose. Happy cleaning and storing!


