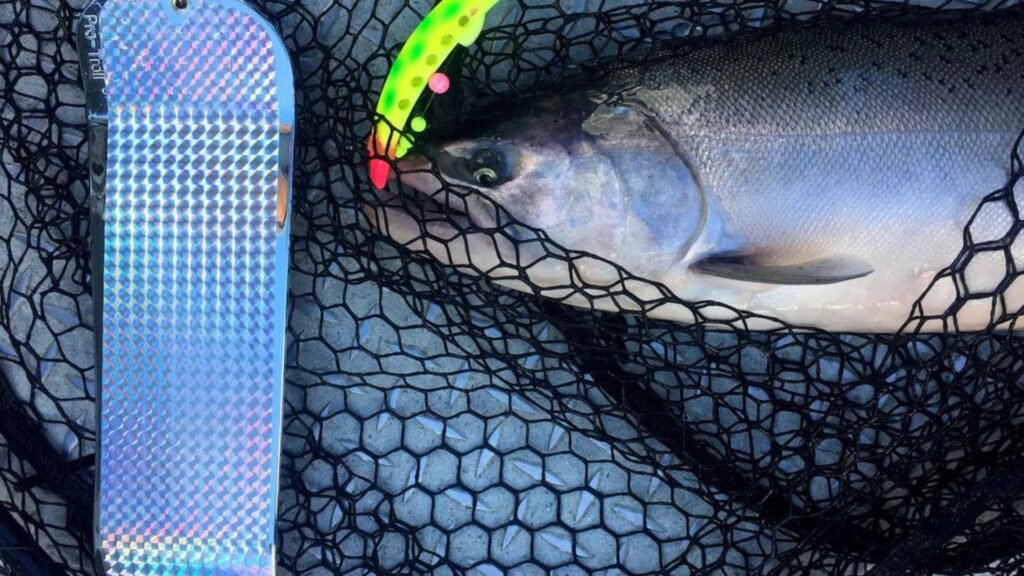
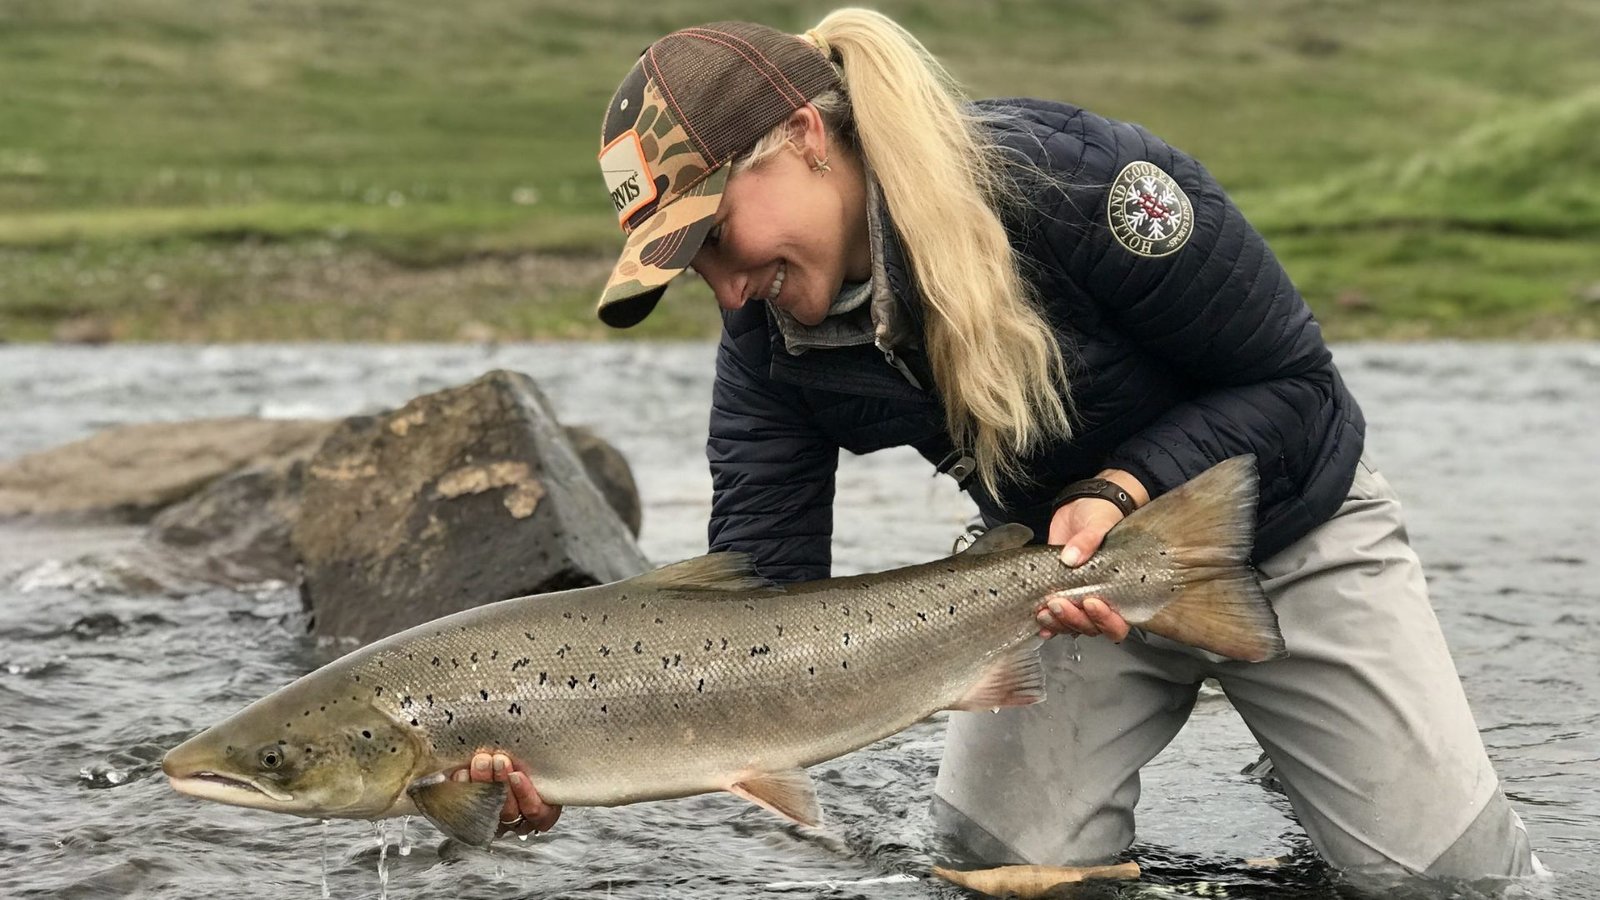
Rigging a salmon fly setup correctly is essential for a successful fishing trip. A well-prepared rig ensures that your fly presents naturally, increasing the likelihood of enticing a salmon to strike. Here, we will guide you through the steps to rig a salmon fly setup, covering everything from selecting the right gear to tying the necessary knots.

How to Rig a Salmon Fly Setup
Choose the Right Gear
Before rigging your setup, ensure you have the appropriate gear for salmon fly fishing.
- Rod: A 9 to 10-foot rod rated for 8-10 weight lines is ideal for salmon fishing.
- Reel: A large arbor reel with a strong drag system to handle the powerful runs of salmon.
- Line: A weight-forward floating or sink-tip fly line, depending on the water conditions and depth you plan to fish.
Attach the Backing
The backing is a thin, strong line that provides extra length for fighting salmon.
- Step: Attach the backing to your reel using an arbor knot.
- Tip: Use 150-200 yards of 20-30 lb test backing for salmon fishing.
Connect the Fly Line
The fly line is the main line you’ll be casting.
- Step: Use an Albright knot or a nail knot to attach the backing to the fly line.
- Tip: Ensure the knots are tight and secure to prevent slipping.
Add a Leader
The leader is a tapered line that connects the fly line to the fly.
- Step: Attach a tapered leader (9-12 feet) to the fly line using a loop-to-loop connection or a nail knot.
- Tip: Use a leader with a 10-15 lb test strength for salmon.
Tie on the Tippet
The tippet is the final section of line that directly attaches to the fly.
- Step: Connect a 2-3 foot section of tippet to the leader using a surgeon’s knot or a blood knot.
- Tip: Match the tippet strength to the leader, typically 10-15 lb test for salmon.
Select the Fly
Choose a fly based on the conditions and the type of salmon you’re targeting.
- Examples: Intruder Fly, Egg-Sucking Leech, and Comet are popular choices.
- Tip: Use bright colors in murky water and more natural colors in clear water.
Attach the Fly
Properly attaching the fly ensures it presents naturally in the water.
- Step: Tie the fly to the tippet using a strong knot such as the improved clinch knot or the loop knot.
- Tip: Ensure the knot is tight and trim any excess line.
Set Up the Strike Indicator (Optional)
A strike indicator helps detect subtle bites when nymphing or fishing with wet flies.
- Step: Attach a strike indicator to the leader, adjusting its position based on the water depth and fishing technique.
- Tip: Place the indicator 1.5-2 times the water depth above the fly.
Add Split Shot (Optional)
Adding split shot weights helps your fly sink to the desired depth.
- Step: Crimp split shot onto the leader or tippet, about 12-18 inches above the fly.
- Tip: Use non-toxic split shot to minimize environmental impact.
Conclusion
Rigging a salmon fly setup involves choosing the right gear, connecting each component securely, and selecting the appropriate fly for the conditions. By following these steps, you can ensure your setup is effective and ready to entice salmon. Remember to adjust your rig based on the specific conditions you encounter, and always check your knots and connections to avoid losing fish. Happy fishing!


