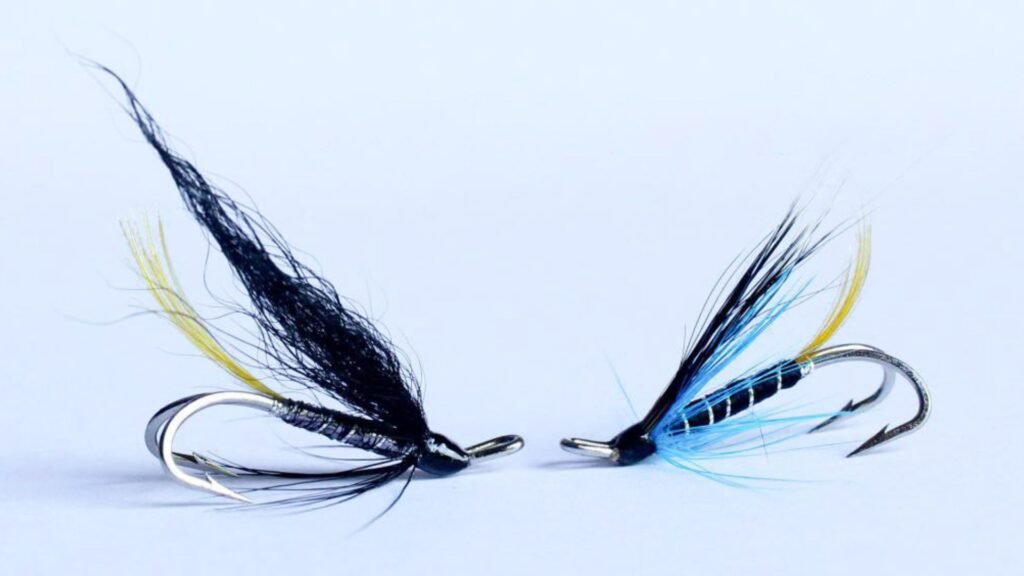
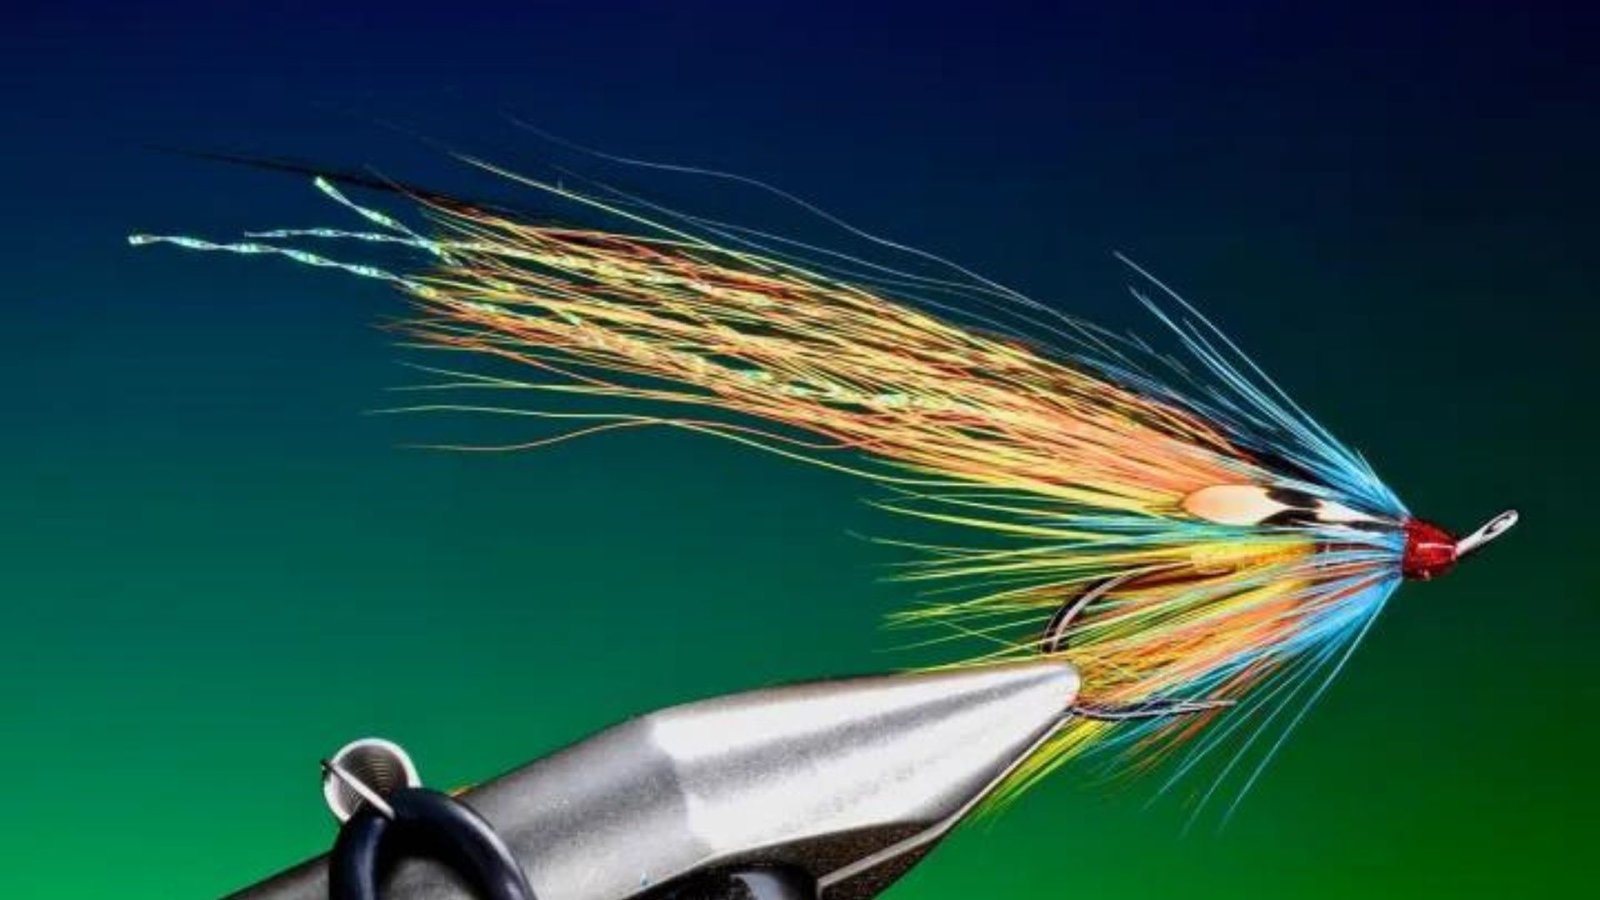
Before looking into tying salmon flies, it’s essential to familiarize yourself with the basic tools and materials required. These include:
- Vise: Holds the hook securely while you tie.
- Bobbin: Holds the thread used to tie the fly.
- Thread: Used to secure materials to the hook.
- Hackle Pliers: Grips feathers and other materials securely.
- Materials: Feathers, fur, synthetics, and other materials for constructing the fly.
Step-by-Step Guide to Tying Salmon Flies
- Prepare Your Workspace: Find a well-lit area with a stable work surface. Organize your tools and materials for easy access.
- Select the Hook: Choose a hook appropriate for the type of salmon you plan to fish for. Larger hooks are generally used for salmon due to their size and strength.
- Start with Thread: Attach the thread to the hook shank near the eye and wrap it back towards the bend of the hook. This creates a foundation for tying materials.
- Add Tail and Body: Select and attach materials for the tail and body of the fly. Popular materials include feathers, fur, and synthetic fibers. Wrap these materials along the hook shank, securing them with thread as you go.
- Attach Wing and Hackle: Depending on the fly pattern, add wings and hackles using similar wrapping techniques. Wings can be constructed from feathers or synthetic materials, while hackles add movement and realism to the fly.
- Finish and Secure: Once all materials are in place, secure them with additional wraps of thread. Use a whip finish tool or knot to tie off the thread and trim excess material.
Tips for Success
- Practice Patience: Fly tying is a skill that improves with practice. Start with simpler patterns and gradually advance to more complex flies.
- Learn from Experts: Watch tutorials, read books, or attend workshops to learn new techniques and gain insights from experienced fly tiers.
- Experiment with Patterns: Customize fly patterns to match local salmon hatch and feeding preferences. Don’t be afraid to experiment with different materials and colors.
Conclusion
Tying your salmon flies at home is a fulfilling hobby that enhances your fishing experience. By mastering basic techniques and gradually expanding your skills, you can create flies tailored to specific fishing conditions and personal preferences. Whether you’re crafting traditional Atlantic salmon patterns or innovative Pacific salmon designs, the art of fly tying adds a creative dimension to your angling pursuits. Embrace the process, enjoy the journey, and watch as your handmade creations entice salmon to strike on the water.


